1/30/2025 5:32 AM
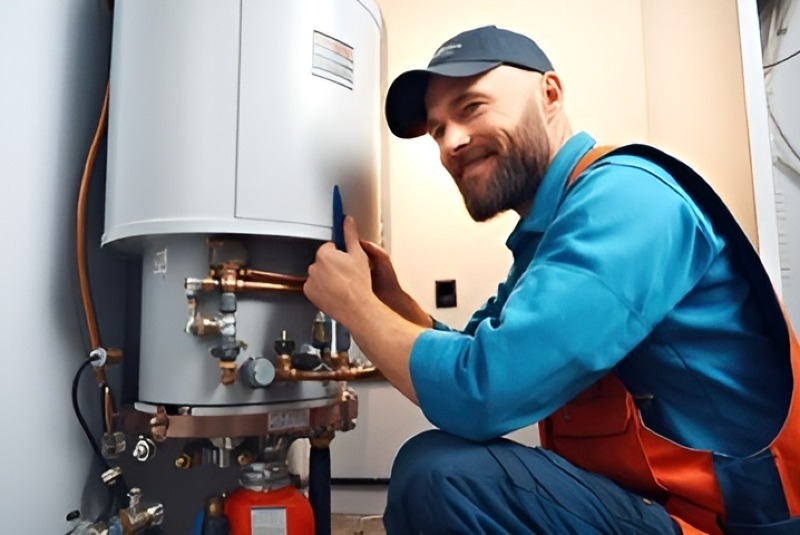
If you're encountering problems with your water heater, it may be the right moment to think about a water heater replacement union.Whether it's a leak, a failure to maintain hot water, or strange sounds, you might be able to resolve these issues with a replacement instead of a complete new installation. In this article, we will walk you through the fundamentals of handling a water heater replacement union and when it’s advisable to seek professional assistance.
Initially, you must decide if a substitution is required. Typical indicators are fluctuating water temperatures, reduced availability of hot water, or increased noise from the heater. Moreover, the unit's age can be a crucial factor; most water heaters have a lifespan of 8 to 12 years. Examine the heater for any obvious rust, leaks, or corrosion, as these are clear signs that you may need to change the union.
Before safely carrying out a water heater replacement union, first confirm you possess all required tools and components: a new union, pipe wrenches, Teflon tape, and potentially a pipe cutter. Always start by disconnecting the power source to the water heater, regardless of whether it is electric or gas. You must also turn off the water supply to avoid any mishaps or flooding while the replacement is taking place.
After implementing safety measures, empty the water heater. Start by connecting a garden hose to the drain valve and opening it to release the water. Turn on a hot water tap in another part of the house to accelerate the draining process. Subsequently, detach the water lines from the heater with your pipe wrench, ensuring you meticulously note any fittings or connections required for the water heater replacement union.
To install the new union, wrap Teflon tape around the pipe threads and securely screw the new union into position. Make sure it fits well to avoid leaks. Once the connection is established, restore the water supply and replenish the tank. Examine your work for any leaks and unfinished connections. When content, reinstate the power to the heating device. The tank is expected to begin heating the water as designed, and you need to watch it closely for any problems.
If you ever feel uneasy about the water heater replacement union procedure, feel free to contact a professional. Although DIY replacements may reduce costs, improper installation can result in larger problems or dangers.
Keep in mind that changing a water heater replacement union can be simple, yet prioritizing safety and correct installation is essential. If you encounter any error codes on your heater during or post-replacement, refer to the manual for detailed troubleshooting or contact a professional. By tackling problems quickly and correctly, you’ll guarantee your water heater operates effectively.